Materials Required:
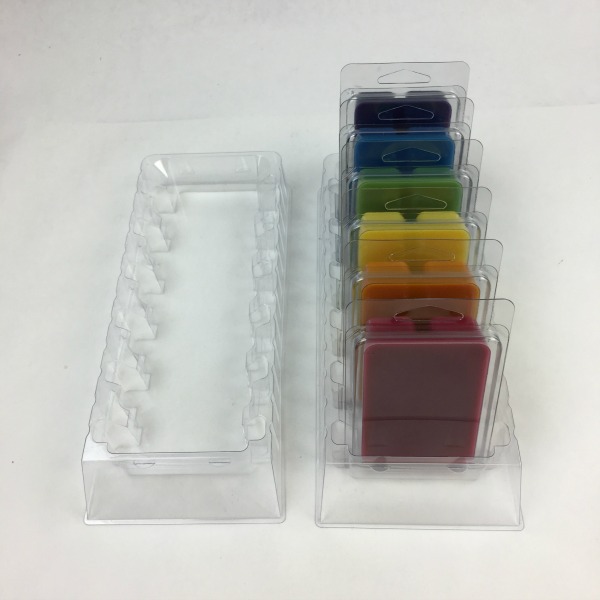
Tart molds
Melting pot for the wax
Votive/Tart Wax
Color blocks, diamond dyes or liquid candle dye
Scent
Thermometer
Instructions:
Step 1
Prepare your work area and gather your materials.
Step 2
Put all of the wax in your melting pot to start melting it down.
Step 3
When wax reaches 180 degrees you are ready to add the color. Using a knife or grater, shave off small amounts of the color block and add them to your wax. It’s better to start with small amounts of the dye block because you can always add more to reach your desired color. Stir the wax with your thermometer until the color is well dissolved. You can test your color by putting a drop of wax on a white piece of paper. Keep in mind that when the wax is hardened it will appear lighter than it looks in the melting pot and darker than it appears on the white piece of paper. You could also use diamond dyes or liquid color dye, depending on your preference.
Step 4
Once you have the color that you want it’s time to add the scent. I use about 1-1.5 oz. of scent for every 1 pound of wax in tarts. Makes sure stir in the scent evenly throughout the wax.
Step 5
Remove your melting pot from the heat and let the wax cool to 160 degrees. Pour the wax into the mold slowly but smoothly just below the top of the mold.
Step 6
Allow the tart to cool fully before attempting to remove from the mold or leave it in the mold if you are planning on selling it that way. Never pry or scrape the wax out of the mold.
* Instructions are a copyright of Candles and Supplies.com and may not be copied or reproduced without written permission