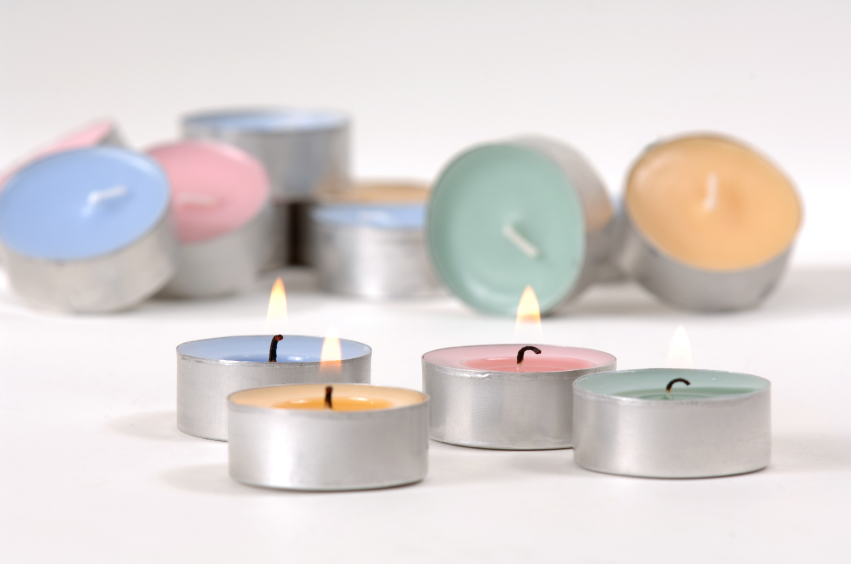
Basic Tealights are simple to make and are great for all occasions! They are also handy to have around for those small amounts of leftover wax from a candle pour.
You will need:
Tealight cups – metal or plastic
Pre-tabbed wicks
Single Pour Container Wax
Candle Coloring – Liquid or block
Scent
A melting pot
A thermometer
A Wax Melter or a pot for water (to double boil the wax) & a stove or hot plate
A suitable work area
Step 1
Prepare your work area – gather your materials – Plug in your wax melter and set temperature to less than 200 degrees or fill the bottom part of your double boiler with water and place on the stove.
Step 2
1 pound of wax will make approximately 12 tealights so weigh your wax according to how many candles you will need to make. Put the wax in your melting pot or wax melter. If you do not have a wax melter, put the melting pot in the double boiler and start heating. Add water to the bottom of the pan if necessary while heating the wax. Take care not to get any water in your mold or wax – it will ruin your candle.
Step 3
When wax reaches is melted and reaches 180 degrees you are ready to add the color and scent. Add a few drops of color or use a knife to shave off small amounts of color from the block and add them to your melted wax. The more color you use, the deeper the color of the candle will be so it’s better to start with small amounts of dye because you can always add more to reach your desired color. Stir the wax with your thermometer until the color is well dissolved. You can test your color by putting a drop of wax on a white piece of paper. Keep in mind that when the wax is hardened it will appear lighter than it looks in the melting pot and darker than it appears on the white piece of paper. Once you have the color that you want it’s time to add the fragrance oil. For highly scented candles you can use up to 1 oz. of fragrance oil per pound of wax. If you do not want highly scented candles add less fragrance and stir again with your thermometer.
Step 4
Pour the wax into the tealight cups but smoothly. It’s very difficult to pour a full pot of wax into small tealights so transfer some wax into another melting pot so it’s easier to pour if necessary. When the wax appears “cloudy” (within 1-5 minutes after pouring), place a pre-tabbed wick in the center of each tealight cup. The bottom of the tea light cup will feel tacky and be able to hold the wick in place.

Step 5
Allow the candle to cool fully before burning.
Step 6
Enjoy your candles! Watch them burn and enjoy the fragrance that you picked. Handmade candles also make great gifts. Your friends will enjoy receiving something that’s handmade and with a little practice, you will have made candles that are a better quality than what you can buy in most stores!
I hope that you have had fun making your candles – I know I enjoy making candles more than just about anything! If you have any questions, feel free to contact us at any time!
Keep in touch too! We would love to hear how your candles turned out. Happy candle making!

Heya i am for the first time here. I came across this board and I find It truly useful & it helped me out much. I hope to give something back and aid others like you aided me.