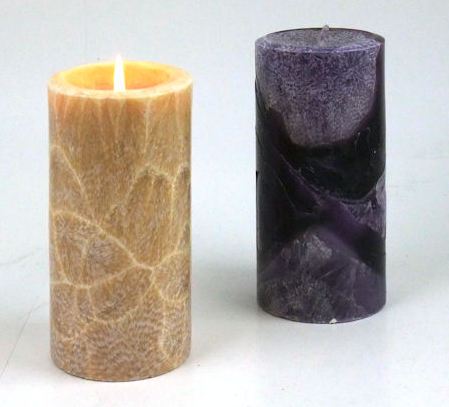
Palm feather wax gives finished candles a “feather-like” appearance.This is truly the most unique and beautiful wax that we have ever seen! The finished candles have been described as having a crystal, feathered or marbled appearance and are clean burning with no soot. Palm wax is easy to use, but can be tricky to wick correctly. Palm waxes are made from all-natural complex blend of tropical plant oils that are renewable and environmentally friendly. Each blend gives the finished candle a slightly different look. Pillars are great to make and so versatile! There are a lot of different shaped molds on the market and pillars can be painted or decorated in many different ways.
Materials:
- Pillar mold/s
- Braided wick
- Candle dye (liquid, diamond or color block)
- Scent (1 oz per 1 lb. of wax)
- Mold Seal
- Melting pot for the wax
- Thermometer
- Griddle or presto pot
Step 1
Prepare your work area and gather your materials.
Step 2
Add wax in your melting pot or presto pot. Clip your thermometer on the side of the melting pot. Put the melting pot on the griddle.
Step 3
Thread your wicking through the bottom of the mold and wrap it around a wick clip or pencil/pen. Use a dime size amount of mold seal to cover up the hole on the bottom. Make sure the mold seal is pressed tightly between the wick and mold. When wax reaches 200 degrees you are ready to add the scent and color. Add a small amount of candle dye (liquid, diamond dye or color block). It’s better to start with small amounts of the dye block because you can always add more to reach your desired color. Stir the wax with your thermometer until the color is well dissolved. You can test your color by putting a drop of wax on a white piece of paper. Keep in mind that when the wax is hardened it will appear lighter than it looks in the melting pot and darker than it appears on the white piece of paper. Add one ounce of set per 1 pound of wax.
Step 4
Check to make sure the wax is at least 200 degrees then your ready to pour the wax into the mold slowly and evenly in the mold. Save the leftover wax in the pot for later. Gently tap the sides of the mold, and allow 45 seconds for the air bubbles to rise.
Step 5
As the wax cools, it can shrink and creates a “pit” around the wick – this is normal. When the outside of your mold feels cool and there is a pit around the wick you are ready to “top off” the candles. Reheat the leftover wax to 200 degrees or hotter and pour enough wax in the mold to fill the “pit” and create a nice smooth bottom on your candle.
Step 6
Allow the candle to cool fully before attempting to remove from the mold. If the candle does not eas- ily slide out of the mold, tap it gently on the counter or place it in a refrigerator for five to ten minutes then try removing it from the mold again. Never pry or scrape the wax out of the mold.
Enjoy your candles! Watch them burn and enjoy the fragrance that you picked. Handmade candles also make great gifts. Your friends will enjoy receiving something that’s handmade and if the directions are followed properly you will have made candles that are a better quality than what you can buy in most stores!
* Instructions copyrite of Candles and Supplies.com and may not be repoduced without written permission.